
HOW TO SCAN FROM PRINTER TO COMPUTER
Scanning documents or photos from a printer to a computer has become a routine task for many individuals and businesses. It allows for easy digital storage, sharing, and editing of important physical documents. While the process might seem daunting at first, with the right knowledge and guidance, scanning from a printer to a computer can be a straightforward and efficient procedure. In this article, we will walk you through the steps involved in scanning documents from a printer to a computer, ensuring a seamless transition to the digital realm.
Step 1: Preparing your Printer and Computer:
Before initiating the scanning process, it is essential to ensure that both your printer and computer are properly set up and ready to communicate with each other. Check the following points:
-
Connection: Make sure your printer is connected to your computer either via USB, Ethernet, or Wi-Fi. Confirm that both devices are turned on and properly connected.
-
Software: Install the necessary printer software and drivers on your computer. These can usually be found on the manufacturer's website or included in the installation CD that came with your printer.
Step 2: Placing the Document on the Scanner:
Once your printer and computer are ready, it's time to position the document or photo you want to scan on the scanner bed. Follow these guidelines for optimal results:
-
Cleanliness: Ensure that the scanner glass is clean and free of dust or smudges. A dirty glass surface can affect the scan quality.
-
Orientation: Align your document or photo properly on the scanner bed. Typically, the top-left corner is the reference point, but consult your printer's user manual for any specific instructions.
-
Alignment: Make sure the document is placed evenly and straight on the scanner bed to avoid skewing or cropping issues in the scanned image.
Step 3: Initiating the Scan:
Now that your document is properly positioned, it's time to initiate the scan process using your printer's control panel or the accompanying scanning software on your computer. The steps may vary slightly depending on your printer model and software, but the general process remains similar:
-
Control Panel: If your printer has a control panel, navigate to the scanning options or settings. Choose the desired scan type, such as black and white, color, or grayscale, and adjust any other relevant settings.
-
Scanning Software: If your printer came with scanning software, launch the application on your computer. It should provide a user-friendly interface with various scanning options. Select the appropriate scan type and customize settings as required.
Step 4: Configuring Scan Settings:
Before proceeding with the scan, it's essential to configure certain settings according to your preferences. Consider the following options:
-
Resolution: Choose the desired resolution for your scan. Higher resolutions offer better image quality but result in larger file sizes. For most documents, a resolution of 300 to 600 dots per inch (dpi) is sufficient.
-
File Format: Decide on the file format for the scanned document. Common options include PDF, JPEG, or TIFF. PDF is ideal for multi-page documents, while JPEG is suitable for photos and single-page documents. TIFF offers lossless compression and is preferred for images that require further editing.
-
Destination Folder: Specify the location on your computer where you want the scanned file to be saved. Choose a folder that is easily accessible and well-organized for future reference.
Step 5: Scanning and Saving the Document:
After configuring the necessary settings, you are ready to initiate the scan. Click the "Scan" or "Start" button on your printer's control panel or within the scanning software on your computer. The scanning process will begin, and you can monitor the progress on either the printer's display or your computer screen. Once the scan is complete, follow these steps to save the scanned document:
-
Preview: Many scanning software applications provide a preview of the scanned image before saving. Take a moment to review the scan and make any necessary adjustments, such as cropping or rotating the image.
-
Naming the File: Give your scanned document a descriptive and recognizable name to facilitate easy retrieval later on. Avoid generic names like "scan1" and instead use relevant keywords or a naming convention that suits your organizational needs.
-
Save Location: Verify that the destination folder you specified earlier is still the desired location for saving the scanned file. If needed, you can navigate to a different folder or create a new one for better organization.
-
File Format: Confirm that the selected file format aligns with your requirements. Double-check that the chosen format supports the features and functionality you may need, such as text searchability in PDF files.
-
Save: Click the "Save" or "Finish" button to save the scanned document to your computer. Depending on the scanning software, you may be prompted to choose additional options like compressing the file size or adjusting the image quality. Make the necessary selections and proceed with saving the file.
Conclusion:
Scanning documents from a printer to a computer is a practical and efficient way to convert physical documents into digital files. By following the step-by-step process outlined in this article, you can simplify the scanning procedure and ensure high-quality scans. Remember to prepare your printer and computer, position the document correctly, configure the scan settings, and save the scanned file in an organized manner.
While the specific steps may vary depending on your printer model and scanning software, the fundamental principles remain consistent. Always refer to your printer's user manual or the software documentation for any model-specific instructions.
With a little practice and familiarity, scanning documents from your printer to your computer will become second nature. Embrace the convenience of digital document management, and enjoy the benefits of easy storage, sharing, and editing of your scanned files.
RECHARGE AND MOVE ON
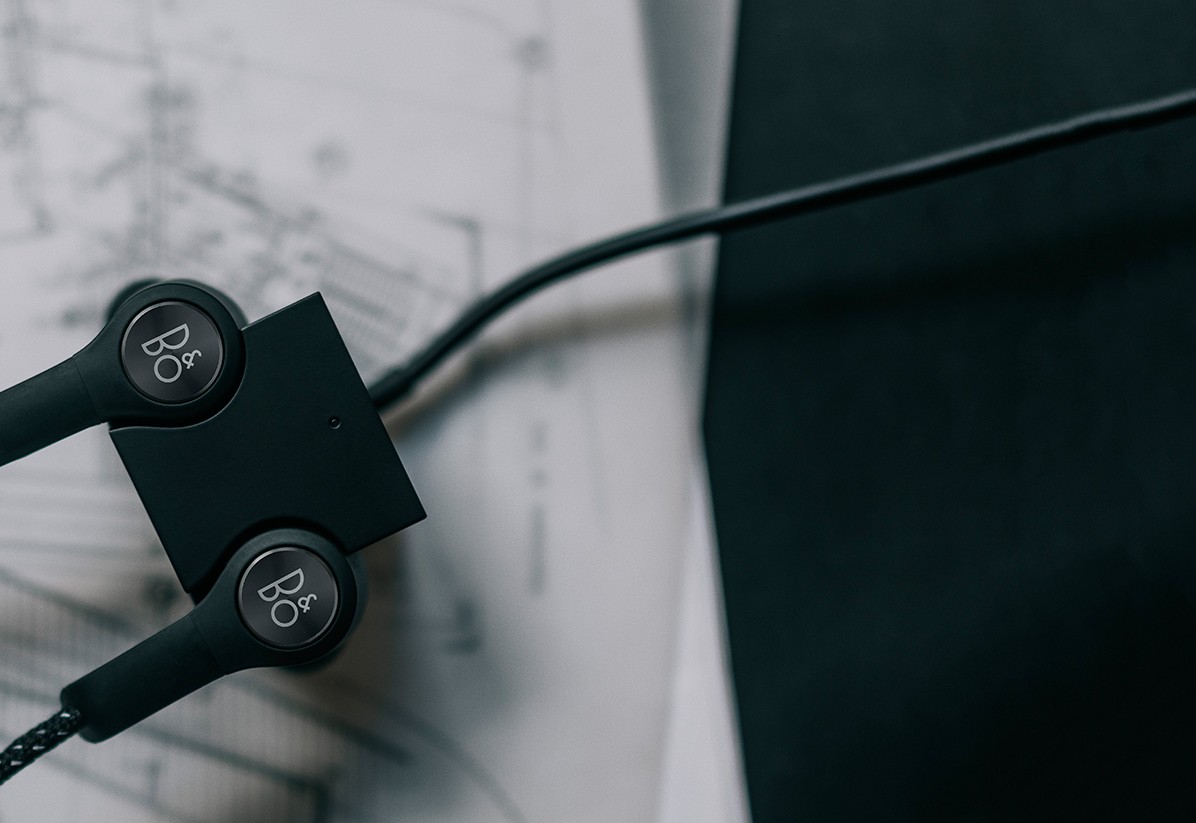
Easier than ever you can keep your earphones active for a long distance run.
Simply click the earphones into the magnetic cube-shaped charger and get them fully charged in 2 hours.
HOW TO PRINT ON PHOTO PAPER
Printing on photo paper is an excellent way to bring your digital images to life and preserve cherished memories. Whether you're a professional photographer or an amateur enthusiast, understanding the process of printing on photo paper can help you achieve stunning results. In this comprehensive guide, we will take you through the step-by-step process of printing on photo paper, covering the essential equipment, settings, and techniques to ensure optimal quality and longevity for your prints.
Step 1: Selecting the Right Photo Paper Choosing the appropriate photo paper is crucial for obtaining high-quality prints. There are various types of photo paper available, such as glossy, matte, semi-gloss, and specialty papers. Consider the desired look and feel of your prints, as well as their intended purpose, to make an informed decision. Additionally, ensure that your printer supports the type and size of photo paper you plan to use.
Step 2: Preparing Your Image Before printing, it's important to ensure that your image is properly prepared. Edit and enhance your photo using image editing software to achieve the desired colors, contrast, and sharpness. Make sure to save a copy of the edited image in a suitable format, such as JPEG or TIFF, to preserve its quality.
Step 3: Adjusting Printer Settings To obtain optimal results, adjust the printer settings according to the photo paper you're using. Open the printer properties or settings on your computer and select the appropriate media type, such as glossy or matte, to match your photo paper. You may also have options to adjust print quality, color management, and paper size. Consult your printer's manual for specific instructions on adjusting settings.
Step 4: Loading Photo Paper into the Printer Carefully load the photo paper into your printer's paper tray or manual feed slot, following the manufacturer's instructions. Ensure that the printable side of the paper faces the correct direction (usually indicated by a logo or watermark). Avoid touching the printable surface to prevent fingerprints or smudges that could affect print quality.
Step 5: Print a Test Page Printing a test page is highly recommended, especially when experimenting with different settings or paper types. This allows you to make any necessary adjustments before printing the final image. Use a small, non-critical portion of your image for the test print to save ink and paper.
Step 6: Printing the Final Image Once you are satisfied with the test print, it's time to proceed with printing the final image. Open the image file, select the desired print size, and send the print command to your printer. Allow the printer to complete the printing process without interruptions, as this ensures accuracy and consistency in the print job.
Step 7: Allowing the Print to Dry After printing, it's important to allow the print to dry completely before handling it. This is particularly crucial for inkjet prints, as the ink needs time to set and bond with the paper. Place the print on a clean, flat surface or use a drying rack to prevent smudging or damage. Drying times may vary depending on factors such as humidity and paper type, so refer to the manufacturer's recommendations for guidance.
Step 8: Properly Storing and Displaying Your Prints To preserve the longevity and quality of your prints, it's essential to store and display them properly. Store prints in acid-free archival sleeves, albums, or boxes to protect them from dust, light, and environmental factors. When displaying prints, use acid-free mats and frames with UV-protective glass to prevent fading and discoloration caused by sunlight or artificial light sources.


TALK. LISTEN. ACTIVATE.
PERFECT FIT
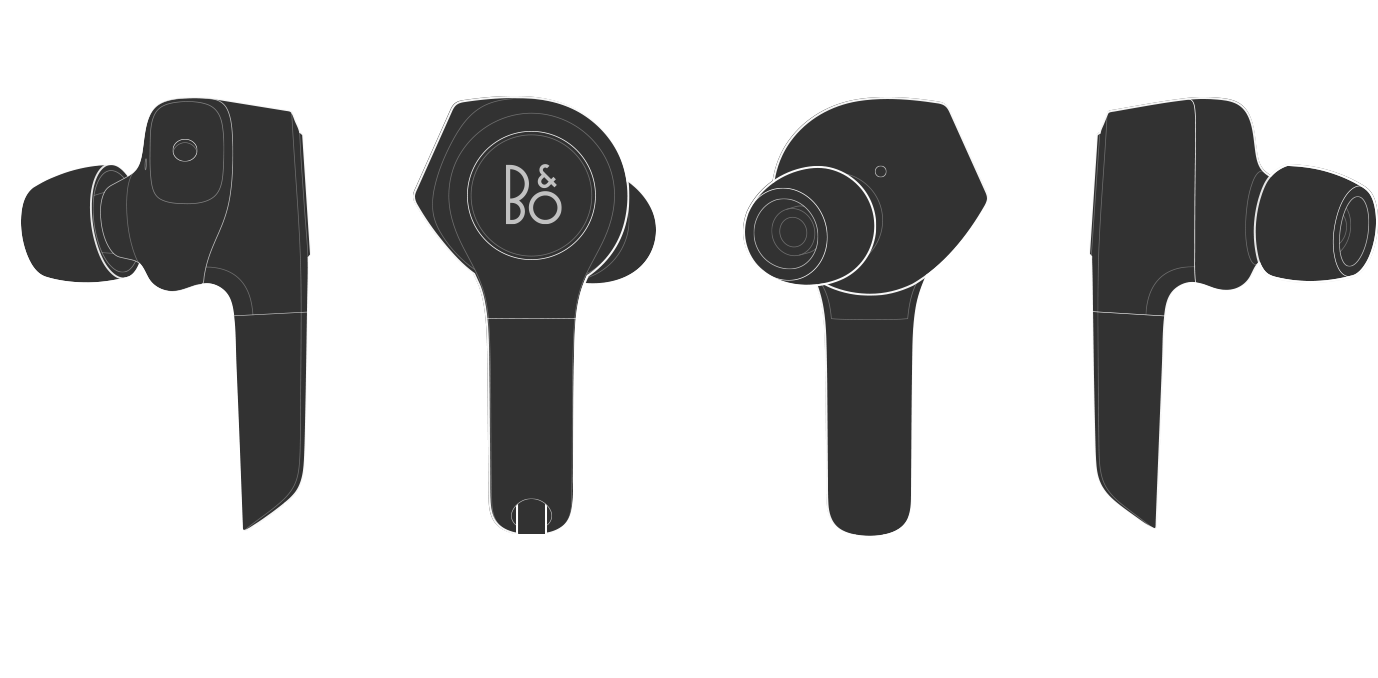
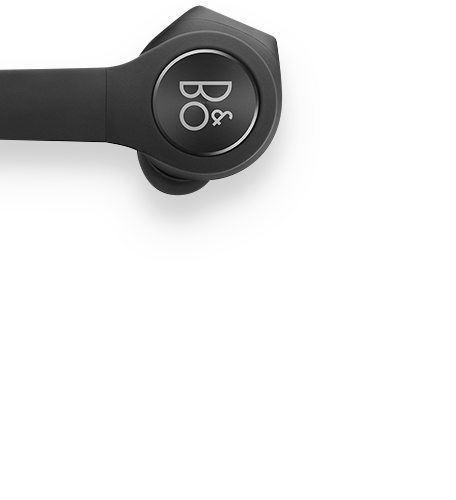
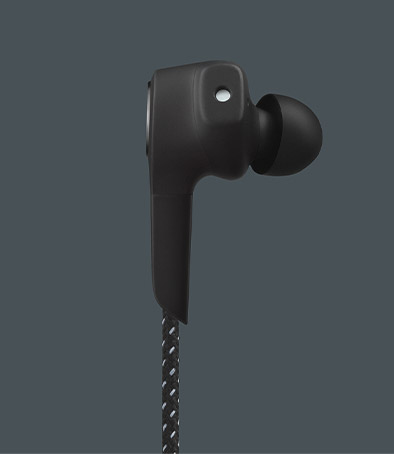
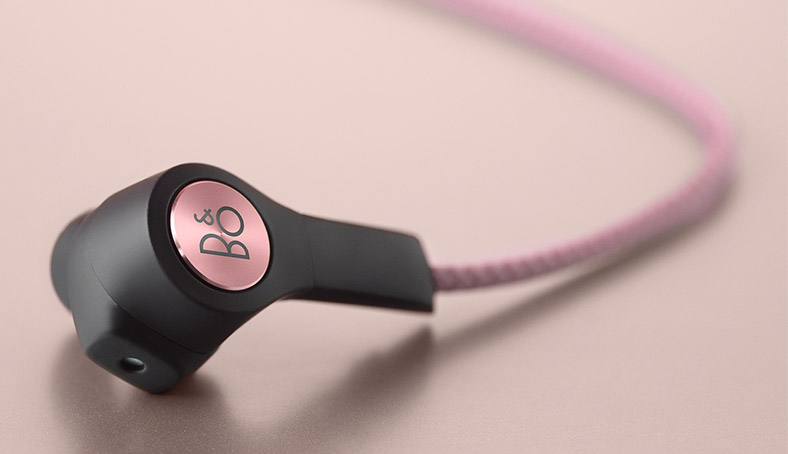
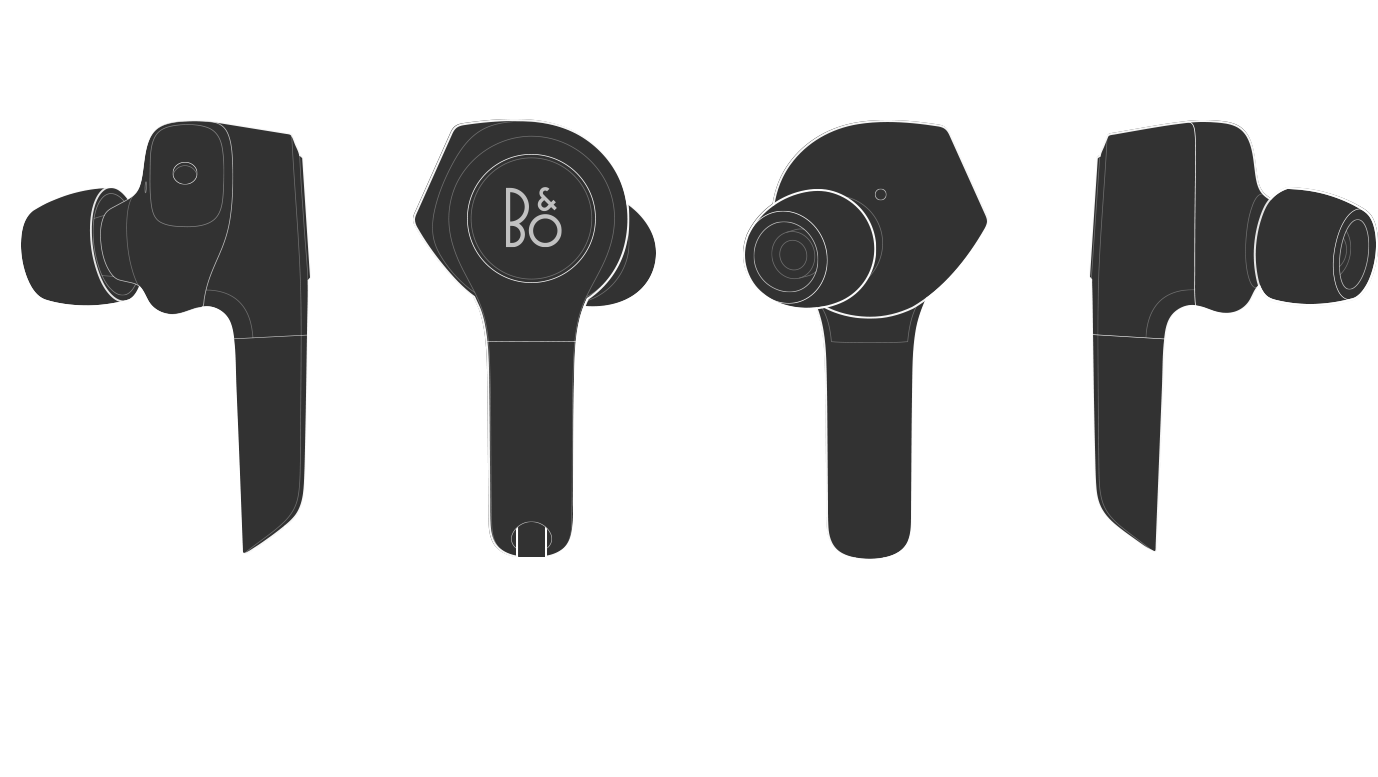
Bioplay H5 was created in cooperation with one of the top Scandinavian designers Jakob Wagner. The shape of the earpieces has been tested and improved to provide a smooth and comfy fit to any shape of the ear canal and prevent them from falling out.
According to Wagner, “When designing earphones to be worn in the inner ear for many hours, comfort is the most important factor. The human ear is a delicate and fascinating part of the body, and I wanted to honor that and take care for it to make Bioplay H5 sit beautifully in the outer ear and blend in naturally, soft and yet precise."
